My post about Chateau Monfreville is my most popular to date. I've asked Zoe McKinley to do a guest post on the story of those amazing roulottes she renovated. They are so much fun to stay in!
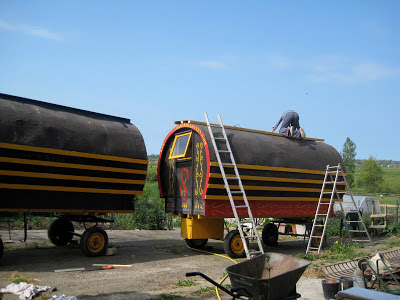 Zoe writes: I bought two Irish gypsy vans on a complete whim: spied them for a minute or two and thought they’re great! The next thing we know, we’ve hired a lowloader trailer. One at a time they were slowly dragged onto the trailer and driven down the motorway. It was quite surreal to see travellers with their horses and wagons parked up on the verges waving to us as we passed. Little did they know that glamping was our intention.
Well, they sat next to my veggie patch for a few months whilst the weather did its worst.


I contemplated the not so very intact roulottes which were in a far worse condition on closer inspection. Contemplation took me off to Paris to forage the markets for fabrics, papers, stickers and inspiration.

Not often does one get the chance to have a blank canvas and do whatever pleases you. Things you would never dream of doing in your own home.
Spring brings sunshine and a determination to get the project under way. I’ve taken bookings which is so exciting. Where to start?!

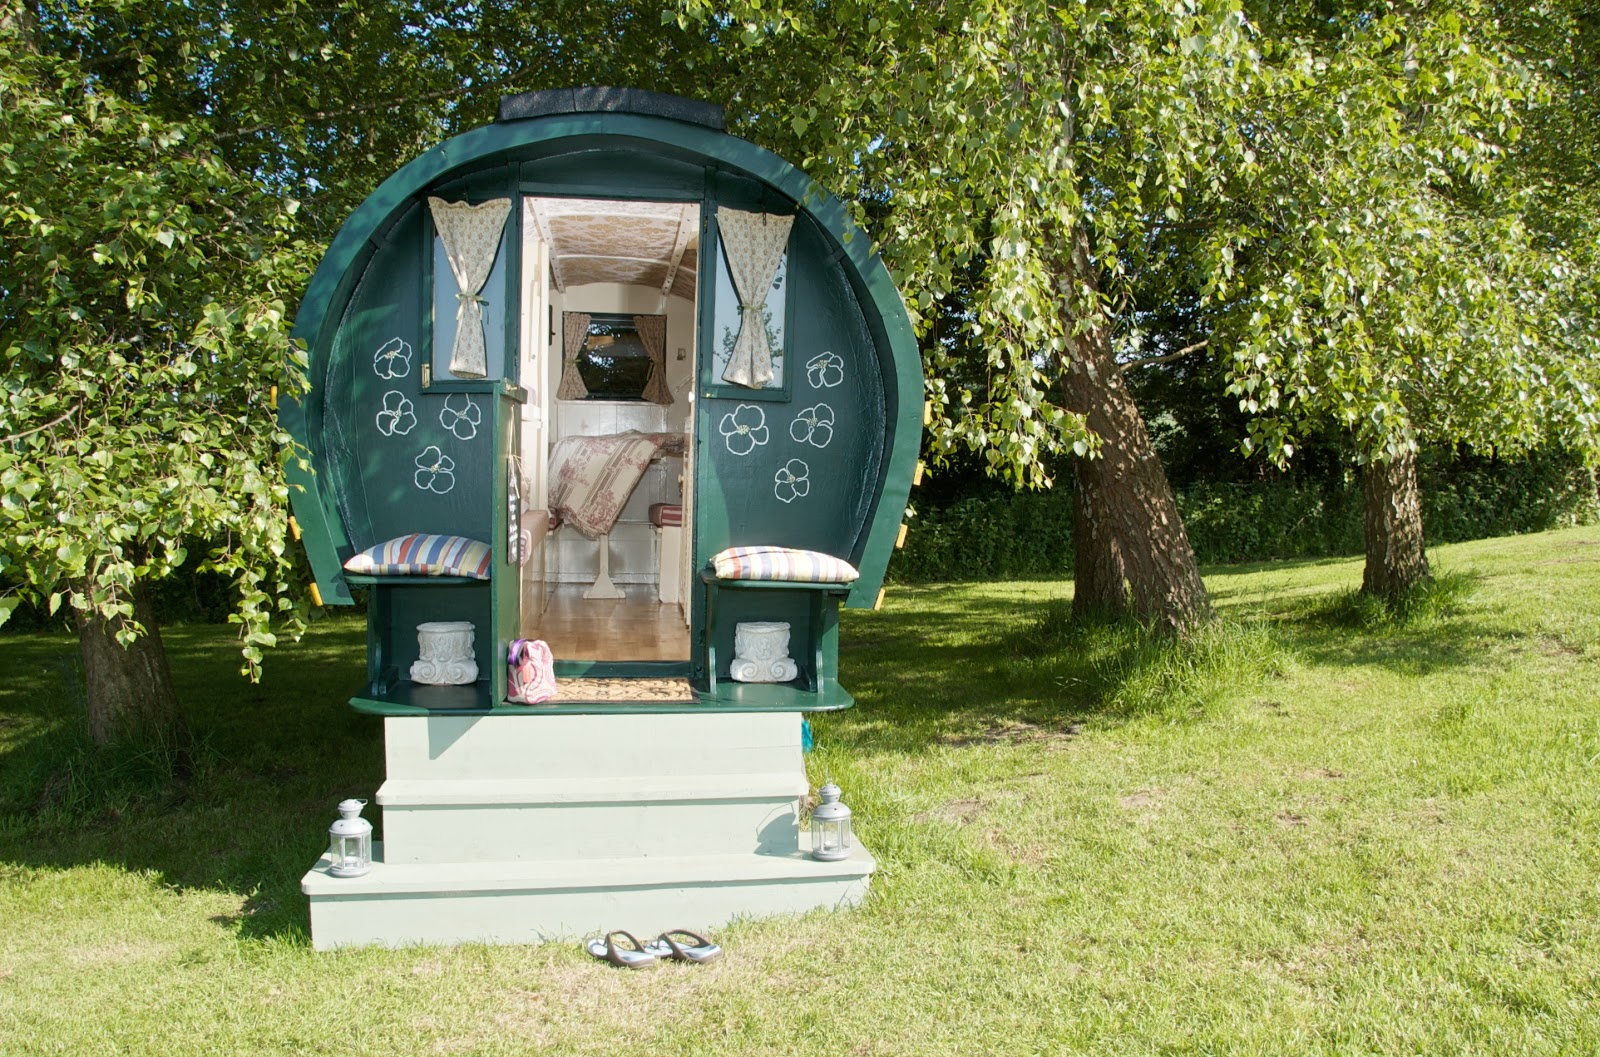
Stripping, filling, painting, wallpapering, scrubbing, stitching and on and on it went. Four months later the result was Miss Molly & Madam ZoZo.

My roulottes are a delight to me. They make me smile every time I see them. Lovely people holiday in them every summer, bringing happiness to all who live in them. The roulottes bring a little romance all of their own. Bizarrely, the majority of people who stay are average height woman, married to the tallest men I think I’ve ever met!!! Happy Days.
For more information about glamping at Chateau Monfreville, visit their website at www.chateaumonfreville.com
It's March and the days are still quite cold, but there is hope in the air for a bit of Spring to come. There is another little glimmer of light in this month: the Seville Oranges are still season. To the British this means one thing - make marmalade in vast quantities - enough to last until next Christmas!

A few years ago my dear friend, Liz Horton, handed me a pot of her homemade marmalade as a Christmas present. I secreted it away from the rest of the family because I had never tasted marmalade that delicious in all my life. Stupidly, it never occurred to me that I could make it. I would occasionally purchase some at church fetes or school fairs, but make it? Much too difficult. That was until lovely Liz invited me to her house one dark, snowy afternoon to a tutorial in how to make a proper pot of British Orange Marmalade. The first time I made it I was still slightly sceptical that I could make it on my own, but by the second year I was beginning to understand the nuances of the experience. This year we couldn't make our busy schedules align, so she encouraged me to have faith and try it on my own.
Therefore, this blog post is really dedicated to Liz's fine teaching skills. I have taken her beautifully crafted recipe and added my own pictures of the process to illustrate how easy it is to make. This recipe made 14 various size jars of the golden nectar, the majority being the standard Bonne Maman size jars, which I save all year long for just such an occasion. Let's hope my first batch of marmalade lasts until Christmas!
Seville Orange Marmalade
(makes approx 10 lbs of marmalade)
Ingredients:
3 lbs (1.5 kg) Seville oranges
2 lemons
6 lbs (3 kg) Granulated cane sugar eg Tate & Lyle (not beet sugar)
5 UK pints (that is 5 x 20 fl oz) of water
Method:
Wash fruit and remove stalks. Knife a cross (just over an inch) at both ends of fruit.
Place in a very large preserving pan with the 5 (UK - see above) pints of water. Cover, bring to boil then reduce to a slow simmer for 2 hours.
Remove the oranges to a large colander sitting over a bowl to allow to cool and collect any juices that run free from the fruit. Pour any of this delicious juice back into your preserving pan. Meanwhile, wash your collection of jars and place them on oven-proof trays ready for heating (or just pop them all in dishwasher). Weigh out the sugar and place in large flat pans. Put the pans of sugar into the oven onto low-medium heat (130 degrees C or 250 degrees F) for at least half an hour.
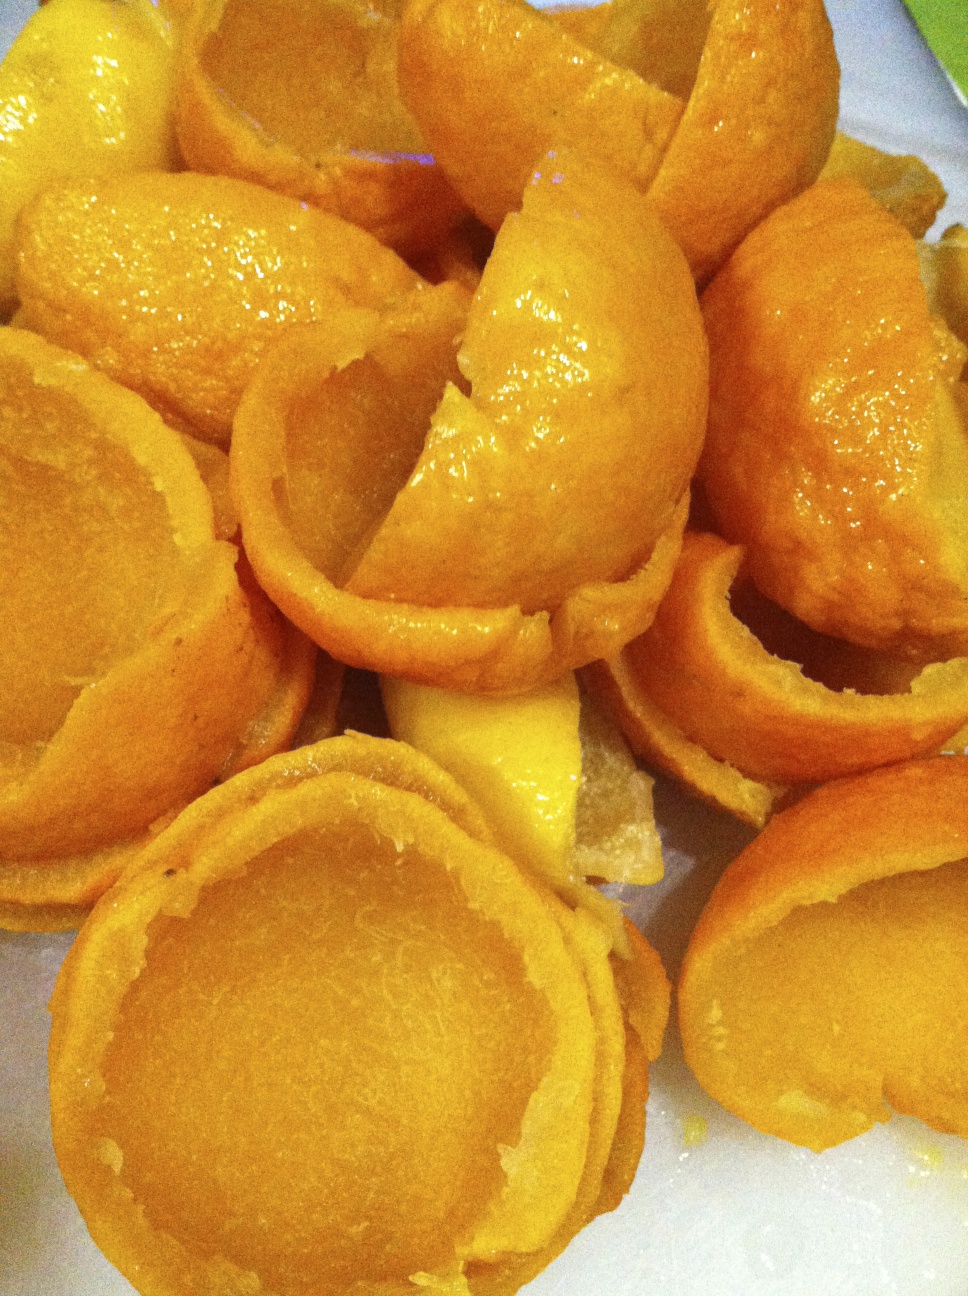
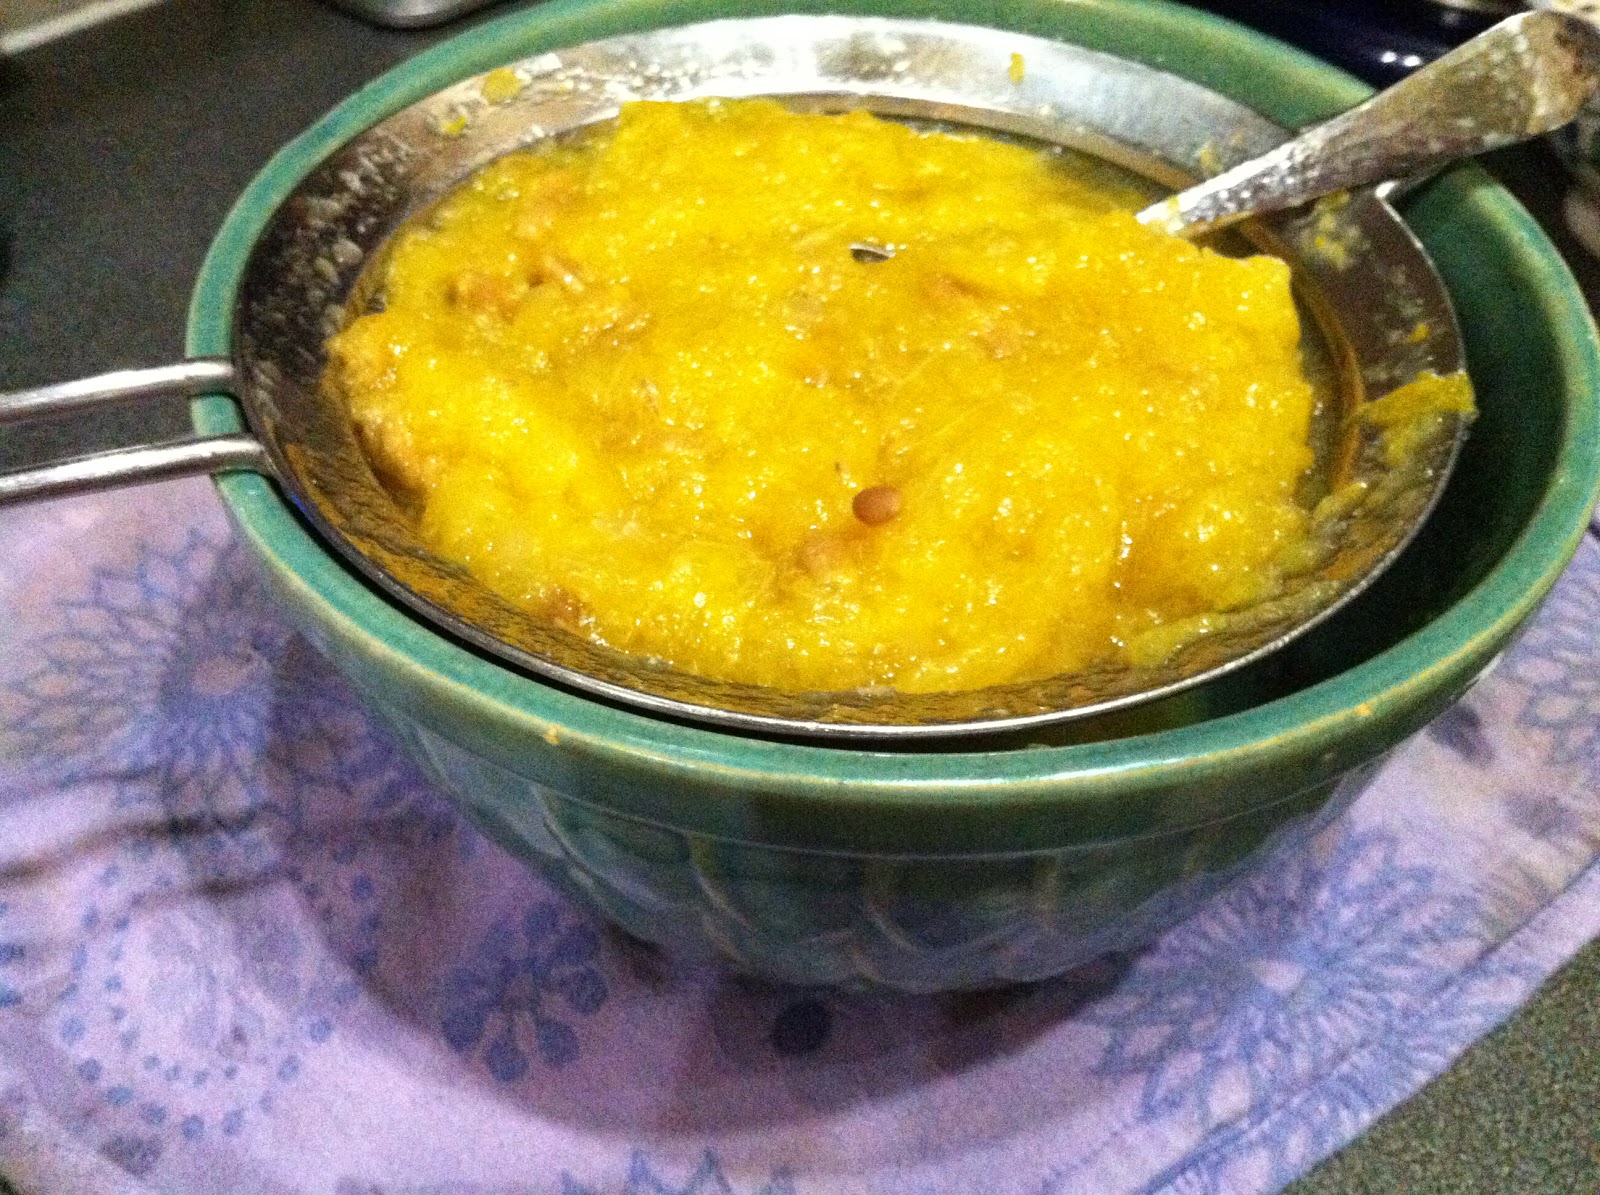
Once the fruit is cool enough to handle, cut in half and scoop out innards and pith into sieve over another clean bowl.

Push through innards until most gone through sieve and the remaining mixture seems a bit dry. Put all the sieved innards in bowl back into the preserving pan.
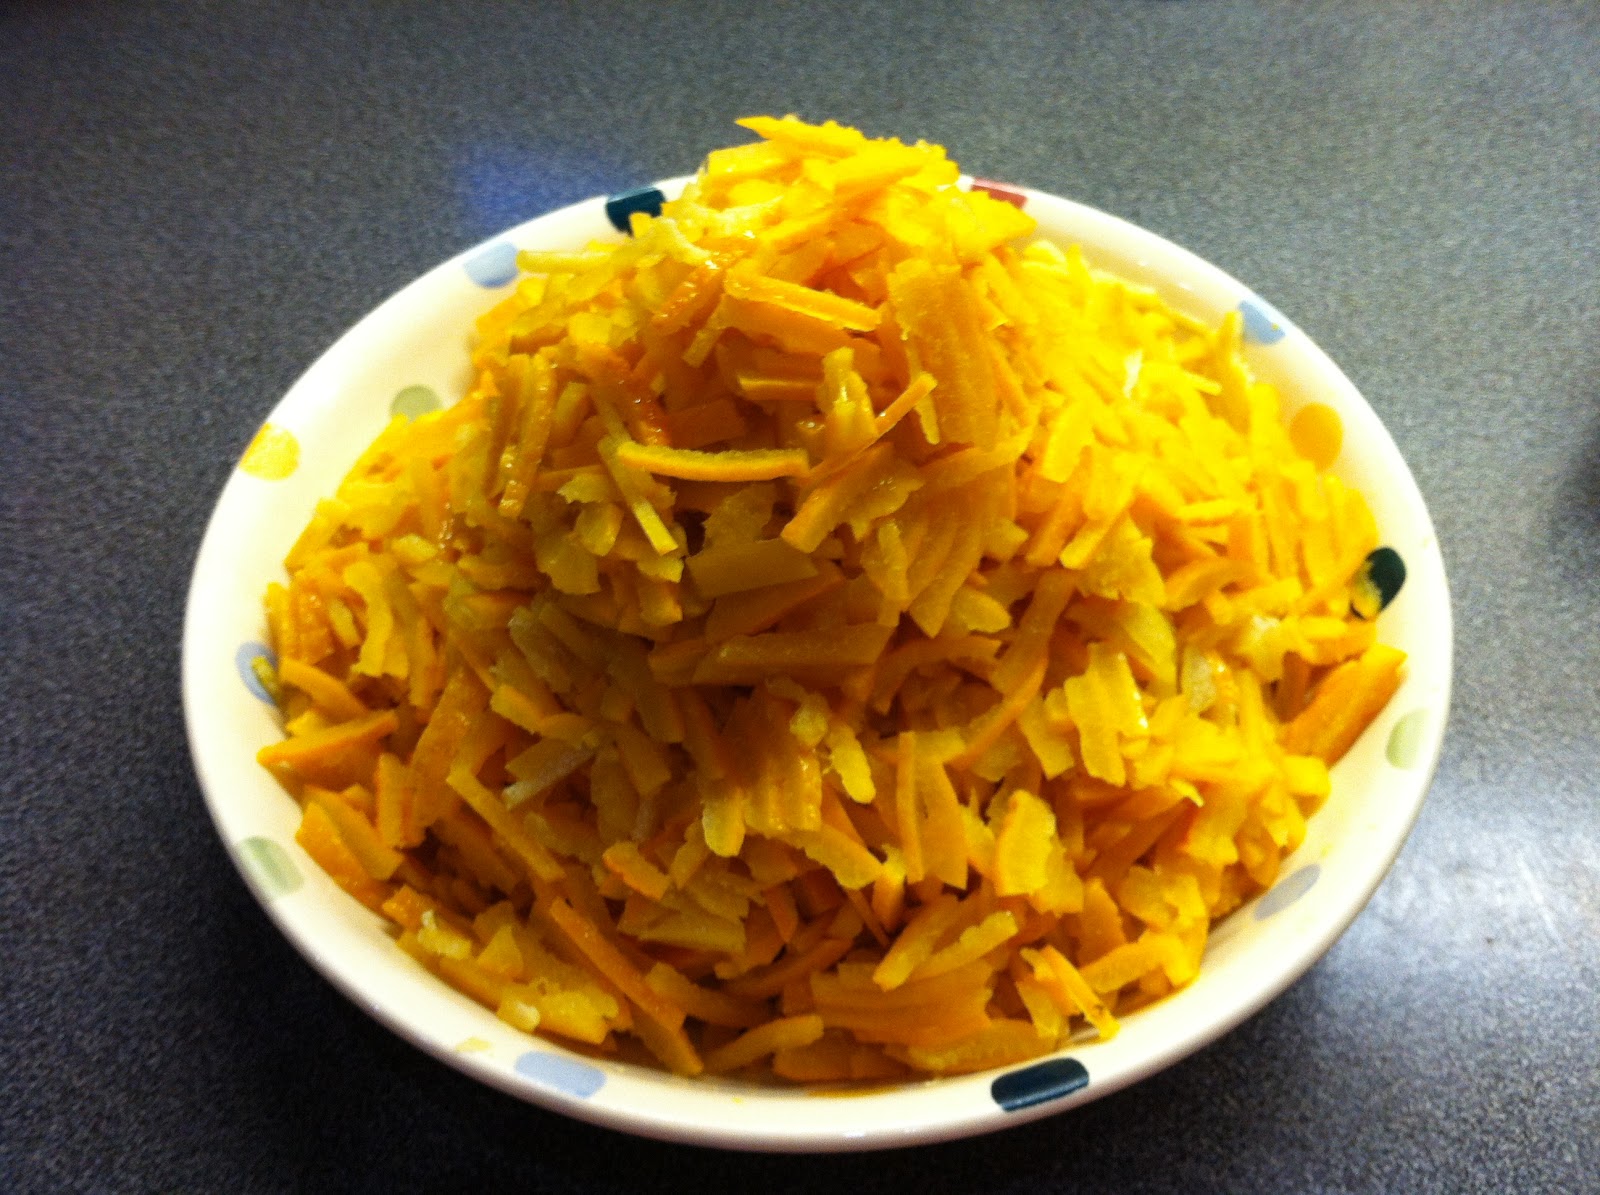
Cut up skins into desired size of shred and put in preserving pan.
Bring everything back up to boil and boil rapidly for about 5 minutes. Remove the sugar from oven and add to preserving pan all at once. Stir constantly until sugar completely dissolves.
Bring everything back up to boil and let it do a rolling (ie: high) boil for at least 20 minutes.
Put some side plates into freezer to prepare for the set test. Meanwhile, if you haven't washed the jars in the dishwasher, turn up oven and put the jars in to sterilise them.
Test for set: place a teaspoon's worth of mixture onto very cold plate and wiggle to see if skin forms and crinkles. Once happy with set, turn off the heat and allow to cool for 20 mins. Make sure jars are warm but not too hot. Pour the marmalade into jars using jug or a large preserving funnel. Fill the jars to the brim. Cover the interior of the jam jar with a wax disc. Allow to cool completely in jars and then put on cellaphane cover, lids and labels on.
If you would like to enjoy this marmalade on some beautiful homemade No-Knead Bread, you can find it at: No Knead Bread recipe