Painter Chuck Close said, "The advice I like to give young artists, or really anybody who'll listen to me, is not to wait around for inspirations. Inspiration is for amateurs: the rest of us just show up and get to work. If you wait around for the clouds to part and a bolt of lightening to strike you in the brain, you are not going to make an awful lot of work. All the best ideas come out of the process; they come out of the work itself. Things occur to you."
Those words really ring true. It all comes down to don't judge, don't edit, just get in there and muck around. After you've played with some ideas, step back and see what you have created.
"Ideas are like little furry creatures coming out of the undergrowth. You need to be nice to the first one." Grayson Perry, Reith Lectures, 2013
These are some of the creative processes I use to generate new ideas.
Sketchbook:
Sketchbooks are the place I capture ideas without judgement. Sometimes I make observational drawings at museums. I can't take the exhibition home with me in my pocket, but I sure can take little snippets of inspirations. Make sketches, texture analysis and notations of acquisition numbers of pieces in museum galleries.
 |
| Sketches from the Asian Galleries at the V & A, London |
 |
| Abstractions of shapes |
I like a bold line. I'll take a photograph of something I find interesting and make a series of shapes without worrying if they "work" or not. I can then think about them as collage elements or 3D pieces in the next step of the process.
 |
| Idea generation for wax carving |
Water colour is a great way to doodle. When I made this page in my sketchbook I remember thinking these are all things that I don't know how to make. I was really caught up in censoring what I drew because they were beyond my skill set. I then had an epiphany that there would come a day when I would know how to make these objects. It was a bit like creating a time capsule that I could visit later. Just looking at this page makes me want to carve some wax for silver casting.
 |
| Nail ring with labradorite |
 |
| Chinese coin ring with jade and 18 kt fused gold |
This was a brainstorming session for a City & Guilds ring project. There were so many valuable ideas on these two pages that I made two rings for the brief. I also see seeds of ideas in work I am developing now.
I love textures. These are some scraps of paper from some exercises I did on layering them. Many of these pieces were developed by making paste papers (a bookbinding process). I also used resist with watercolour and black ink stamped over the coloured paste papers.
Paper & Scissors:
Because my art is 3 dimensional and based on shape, I often work with paper and scissors. I cut a series of shapes, not worrying about what I am developing. Sometimes I will hit it right off the bat. Other times it will take almost a whole sheet to get some idea that I like. I take the shapes I like and push them further.
 I then think about how they can be manipulated, folded, turned in on itself or cut into. What happens if you change the scale?
This red folded paper design was something I made years ago in a brainstorming session.
Play with clay:
Another way to think dimensionally is with clay or Fimo. It can be quickly moulded and textured. Make it, photograph it, change it again, and take another photograph. What happens when you put things into it: cocktail sticks, paper clips, toys, etc.
Metal:
After all of these exercises, start to translate it into metal. I think about changing the scale around depending on what it will become. Should I dome it to add more dimension? How do the pieces interact with each other when I move them around. Can they be layered?
 |
| Paper cutouts translated into metal |
 |
| Same shape in two scales |
 |
| Looking at the outline |
Think about shapes as both dimensional items or simply as outlines.
Photograph:
With cameras on our phones, I find I can make lots of quick "notations" by snapping photographs of ideas. These quick snaps are useful when I am in the middle of a project and I want to think about how I can make variations on a theme. I will go back and refer to them later when I am looking for further inspiration.
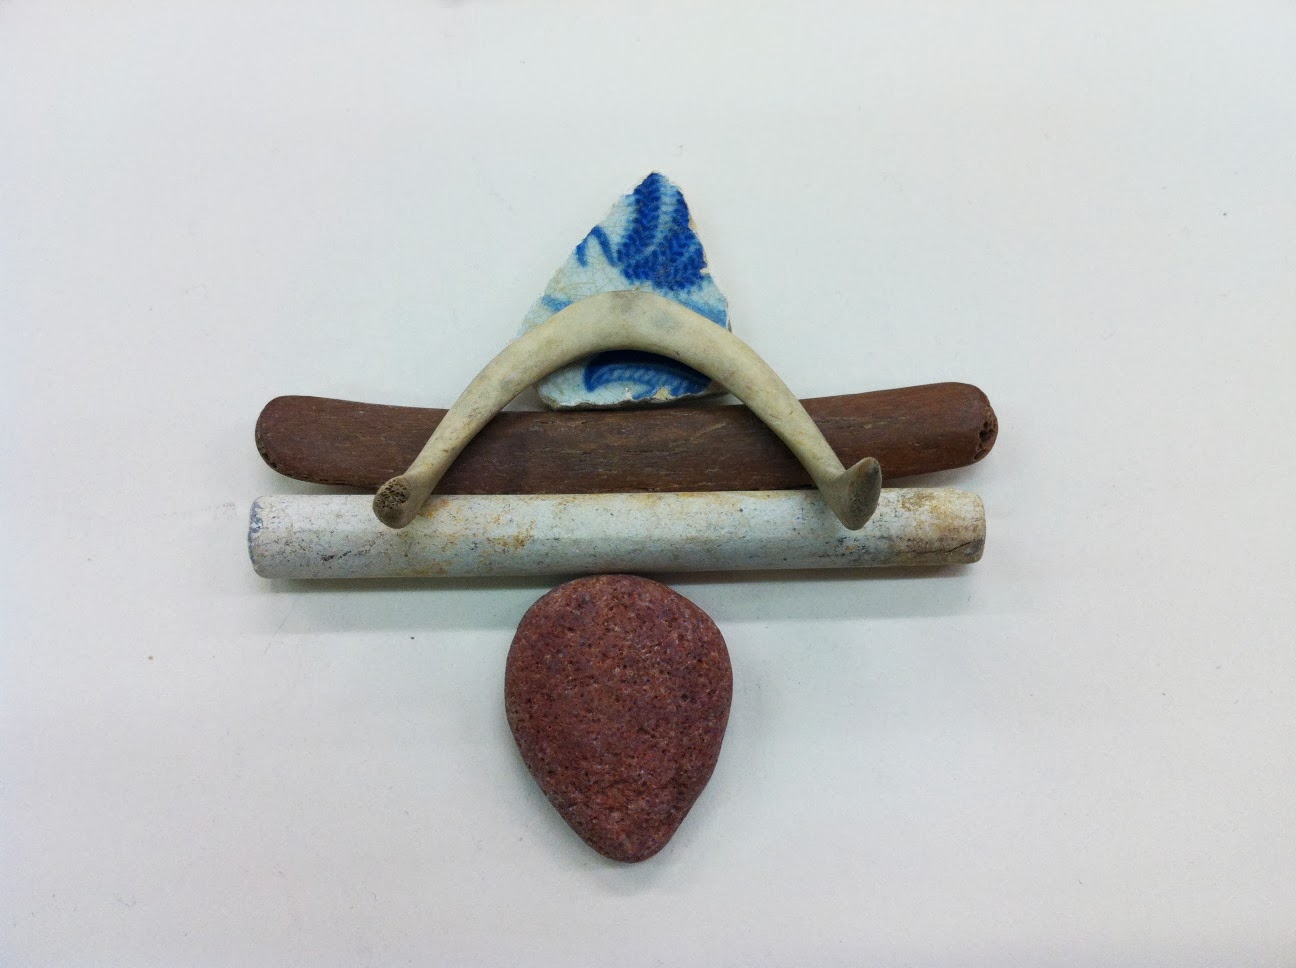 |
| Inspiration for a brooch: collage of found objects |
"Be playful and fun with the idea and it could lead to the next 10 years of work." Grayson Perry, Reith Lectures 2013
I would like to thank my former tutors at City Lit, London: Melissa Hunt, Masako Hamaguchi and Karola Torkos. We worked on many of these exercises as part of the City & Guild programme and I continue to use these practices today.


